Colouring is one of the most relaxing things you can do. Sometimes you’ll end up with exactly the picture you imagined, and other times it will turn out completely different—but that’s part of the fun. There is no “right” or “wrong” way to colour. This is your moment to unwind, let your creativity flow, and enjoy a little calm in your day. You can use any medium you love—pencils, markers, crayons, or even a mix of them all. Go with whatever makes you happiest.
Here’s a short, simple guide to colouring a cute little cat:
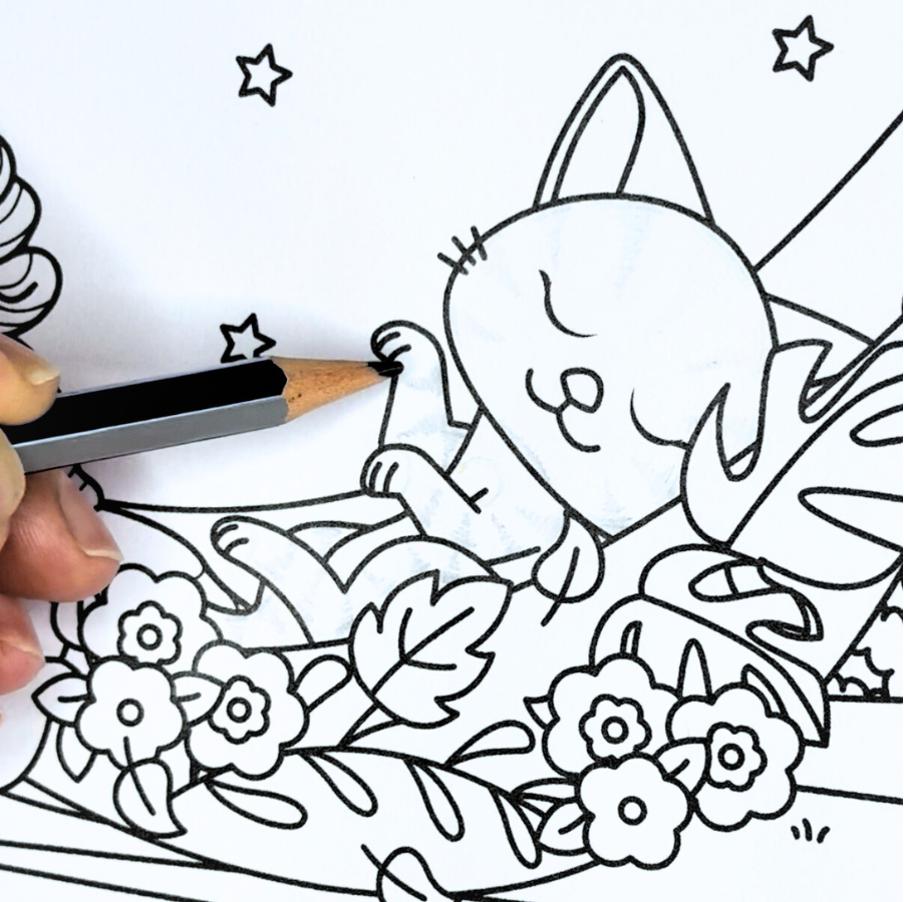
1. Light pencil guide Lightly sketch faint lines with a pencil where you’d like the darker areas of your cat to be. Don’t stress about perfection—this is just a guide to help you plan your shading. You’ll erase these lines as you go.
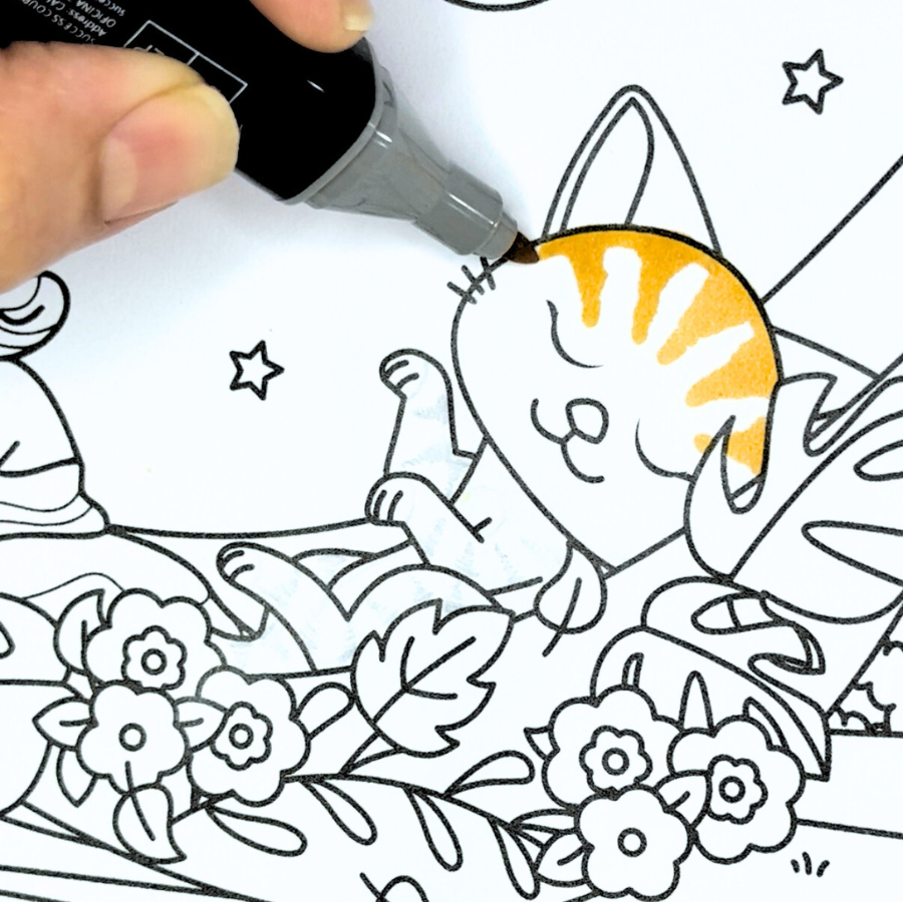
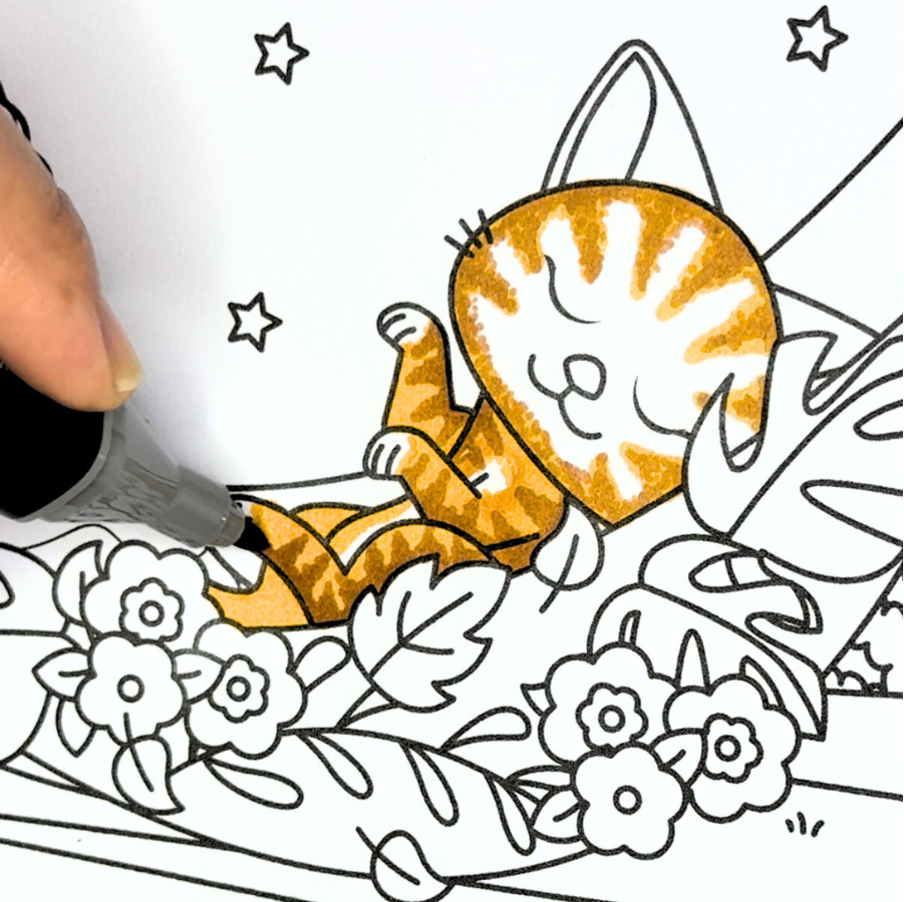
2. First layer – lightest colour Pick your lightest colour (in this example, light orange, but feel free to choose your own). Erase a small section of your pencil guide, then fill that space with dots made by your marker. Continue erasing and colouring each section until all your pencilled areas are covered in dots.
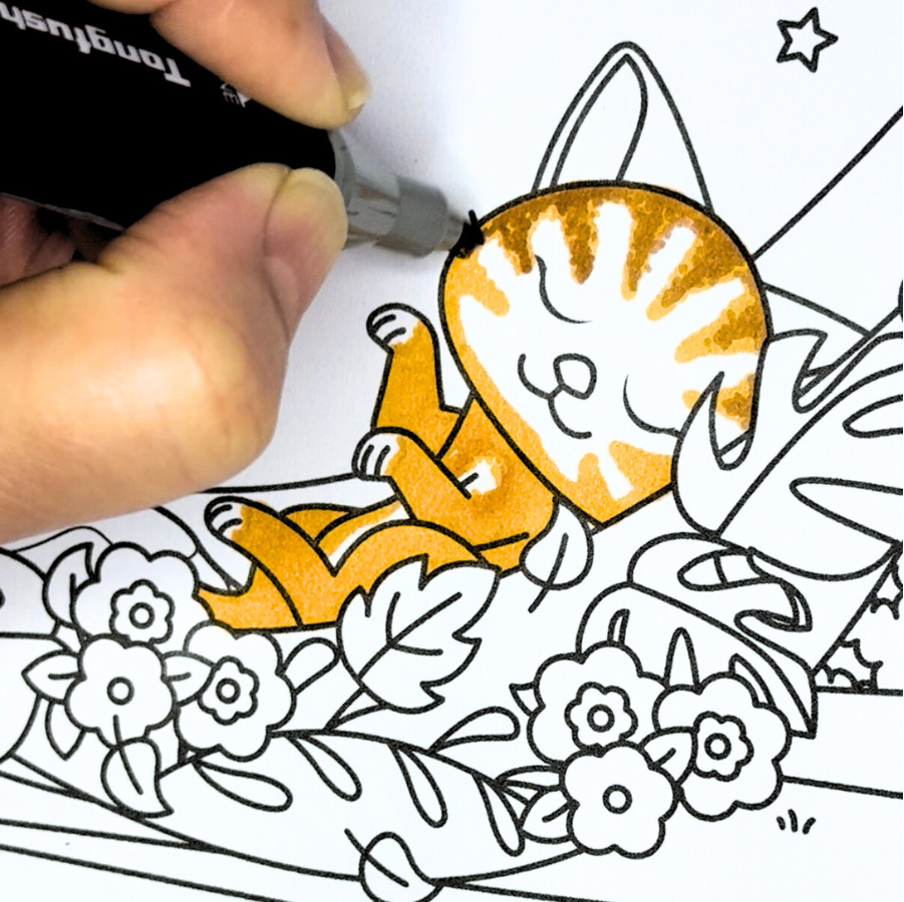
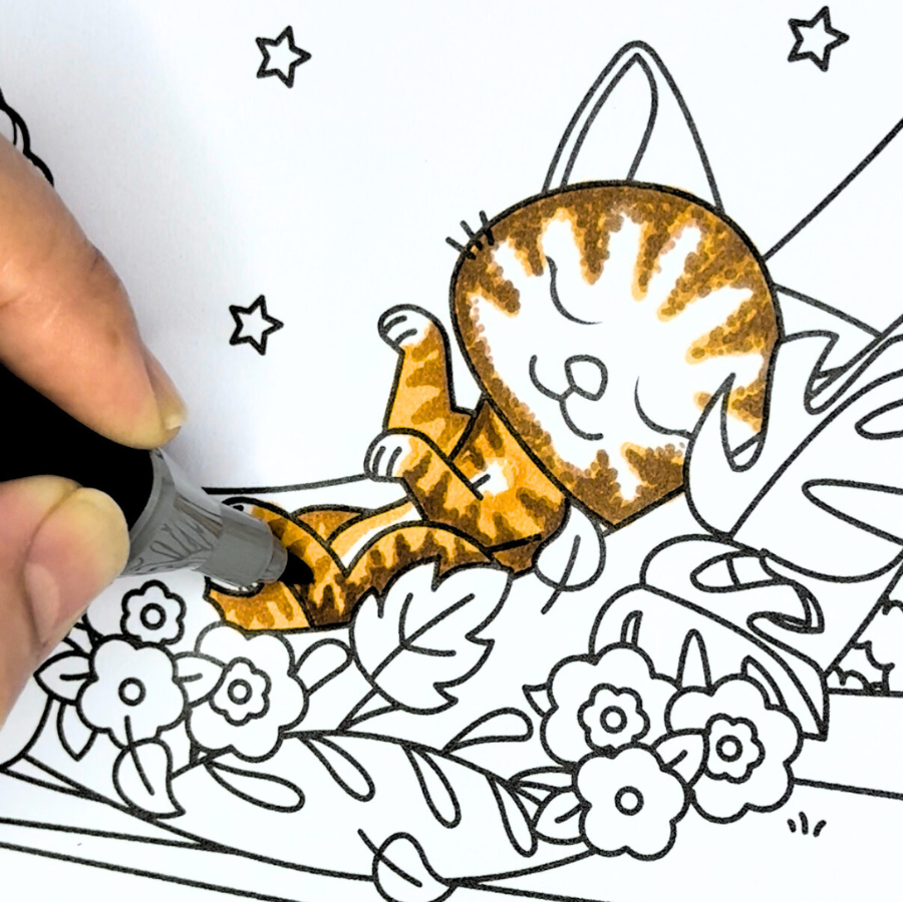
3. Second layer – medium colour Take your medium shade and go over the lightest areas you just coloured, leaving a thin rim of the light colour showing around the edges. This gives your cat a layered, dimensional look.
4. Third layer – darkest colour Using your darkest colour, repeat the same process, again leaving a rim of the previous colour visible. You should now see three clear shades forming, and your cute cat starting to take shape.
5. Ears and nose With a light pink, colour the insides of the ears and the nose. For a darker pink effect, simply go over any section again with the same marker to create a second shade.
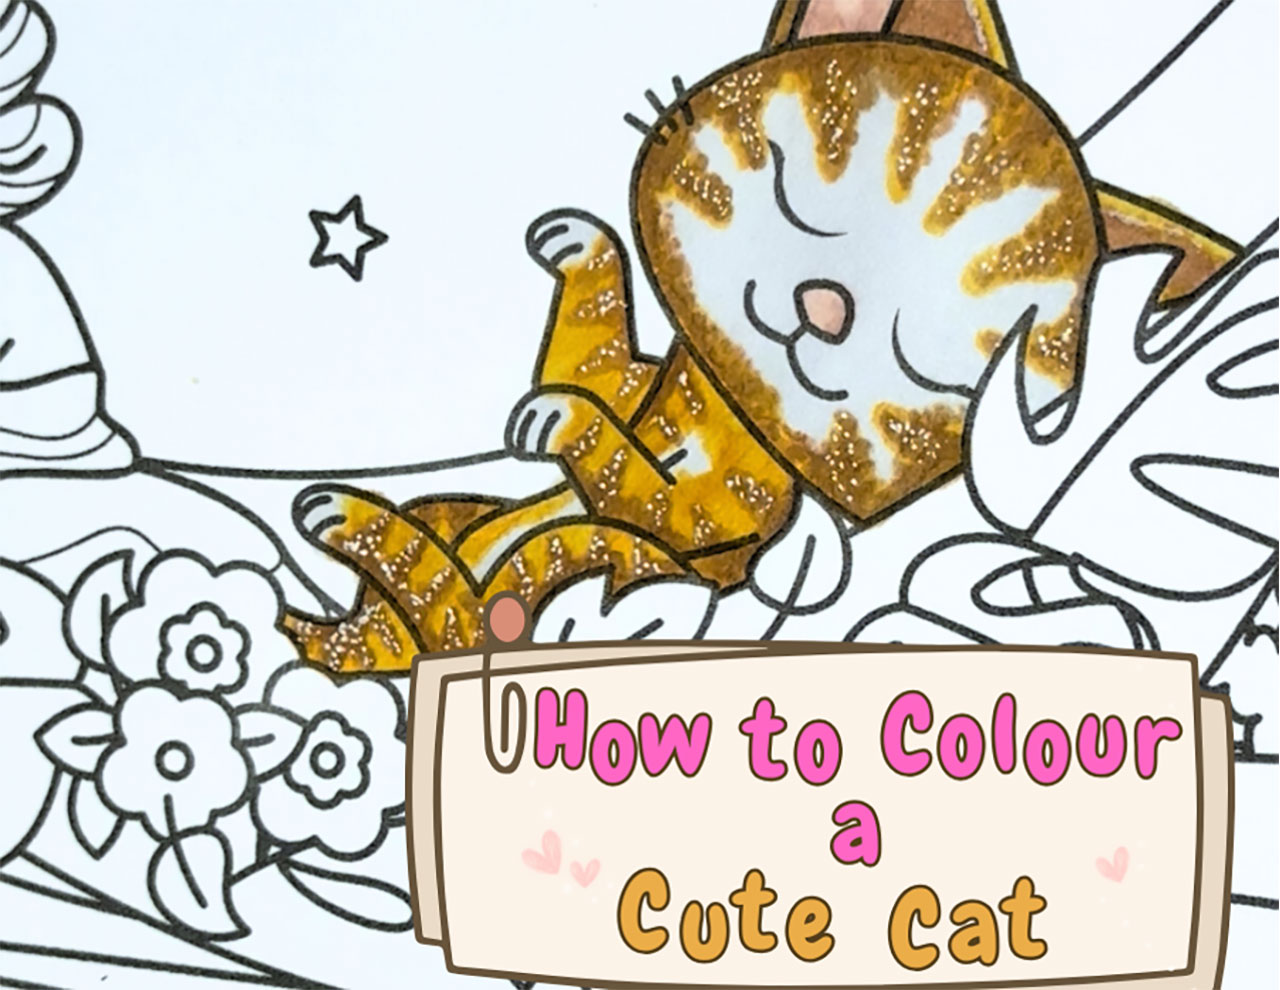
6. White fur option You can leave the remaining white fur as is, or give it a soft tint by lightly colouring over it with a very pale shade—such as light grey. This will make your cat look even softer and more cohesive.
7. Final sparkle For the finishing touch, use a white gel pen (like a Gelly Roll) to add tiny dots to the darker shaded areas of your cat. These will look like little sparkles and bring your colouring to life.
And that’s it—you’ve just created an adorable, three-toned cat!
I hope you enjoyed this quick tutorial. Keep an eye out for more fun colouring guides. If you’d like to colour this exact cat, you can find the page in our book Whimsical Worlds—check the book section and grab your copy today!





Leave a comment